The most wonderful time of the year is approaching, and of the many, many (many!) great things about this season, one of the greatest is the advent calendar. We all know what they are, and we all know how we used to cheat as kids and open the boxes ahead of time (admit it, you know you did!). But now that you’re a little older, and a whole lot craftier (ooh, double entendre!), you get to do a neat thing—you get build your own advent calendar (for someone else)!
This is a chance to really have fun and get creative. You can make an advent calendar out of almost anything (like a box and some cardboard dividers), but we’re going to concentrate on one of the most unexpected ways to build one. We’re going to use mailing tubes. It’ll be surprising, original, and its recipient will never forget it. Let’s get started on how you can build your own advent calendar.
1. Grab your advent calendar supplies
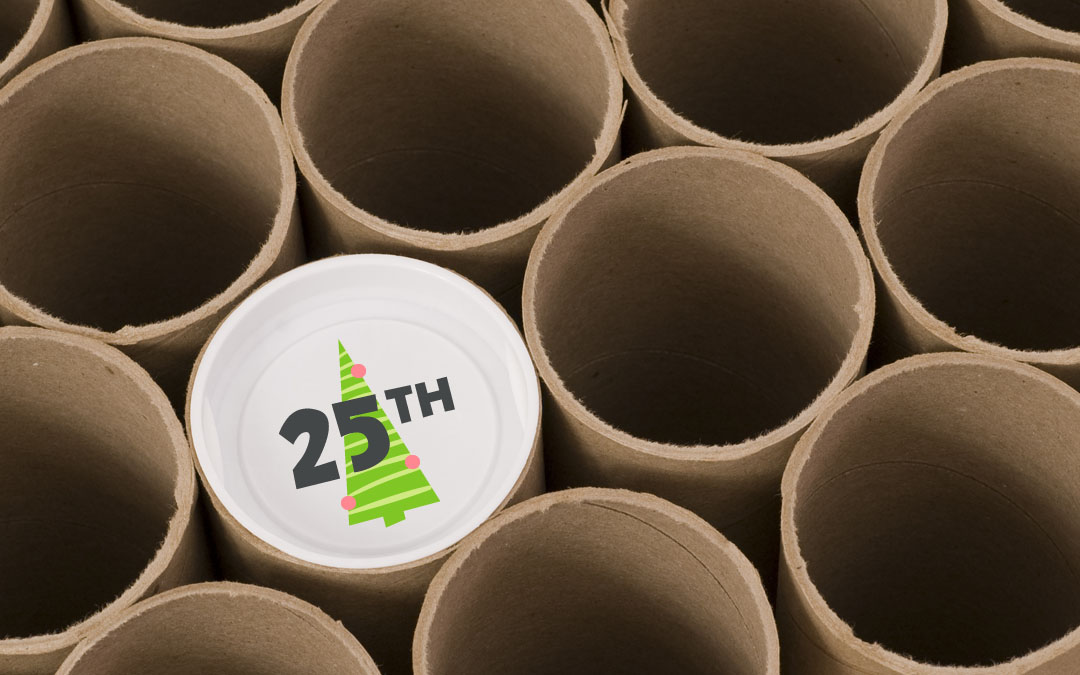
A 25 Pack of Mailing Tubes is the star of the show (well, okay—the gifts are the real star here!). Kraft-coloured tubes give a great rustic look to your advent calendar, while white tubes look more snow-y and festive. Pay attention to the width of the tubes you buy—the larger the gifts to go in them, the more room you’ll need.
Glue, Tape & Scissors for assembly and decorating assistance.
Wrapping Paper, Decorative Supplies & Stickers will help you beautify the finished product.
Candy or Gifts (like we grudgingly admitted!) are the real star of the show. Candy is always a great choice, but whatever you do, choose a theme beforehand to make the gift buying easier on you.
2. Assemble your advent calendar
What shape do you want your calendar to be? We suggest triangular, like a Christmas tree, but even a grouping of tubes will look great once fully decorated. Start by arranging them in your chosen design, then glue them together, one by one. Make sure you let them fully dry before doing anything else!
3. Fill up each mailing tube
What kind of treats are you using? We think a good mix consists of candy, gag gifts, money (everybody’s favourite!), and maybe even bottles of holiday cheer (okay, yes, THAT’S everybody’s favourite!). If you want to extend the fun a little further, wrap each treat up like a mini-present before dropping it into a tube. Once you pop on the end caps, you’re all set to move onto the next step!
4. Decorate your new advent calendar
And now, for the best part (for you, anyway)—decorating your advent calendar! Here’s where you get to have some real fun, using markers, construction paper, paint or any medium you choose. Green’s a good colour if you’re making a Christmas tree, and we suggest making a star or angel to go on top. Don’t forget to mark the end caps with numbers 1-25. Congratulations—your mailing tubes advent calendar is now complete!
Here’s some of our favourite examples:

5. Deliver it!
Here’s where you hand the calendar over to your friend, sibling or other member of your extended family. At this point, you’ll need to actually let go of the advent calendar—we know you spent a lot of time on it and it’s very special to you, but you made this for someone else, remember? Trust us, we’ve felt that way, too!
Nothing quite beats the rush of opening those little chambers, one day at a time. Have you decided to build your own advent calendar out of packaging supplies? Be sure to tag us on social media—everyone here at The Packaging Company would love to see it!
Image Sources: Reddit, Pinterest